Want to build your own signal-blocking pouch instead of buying one? Making a DIY Faraday bag is a genuinely easy weekend project — you need the right conductive material, a way to close it completely, and a simple test to prove it works. This guide walks through the whole thing, and explains where homemade bags shine and where a purpose-built one is worth it.
How a Faraday Bag Works (the 30-second version)
A Faraday bag is a flexible Faraday cage: a conductive enclosure that redistributes incoming and outgoing electromagnetic fields around whatever's sealed inside, so wireless signals — cellular, Wi-Fi, GPS, Bluetooth, RFID — can't get through. The two things that make or break a DIY bag are the conductivity of the material and the completeness of the seal. A gap is a leak, so the closure matters as much as the fabric.
What You'll Need
- Conductive shielding fabric — the heart of the build. Copper/nickel-coated polyester (like our Faraday fabric) is ideal: it's flexible, sewable, and blocks a wide frequency range. Heavy-duty aluminum foil can work in a pinch but tears easily and won't survive reuse.
- An outer fabric (optional) — cotton, canvas, or nylon to protect the conductive layer from wear.
- A full-closure method — a generous fold-over flap with hook-and-loop, or a conductive hook-and-loop strip, so the opening seals with overlap and no gap.
- Basic tools — scissors, a sewing machine or needle and conductive thread (or fabric-safe adhesive), and a ruler.
Step-by-Step
- Measure your device and add generous margin — you want the bag to fully enclose the item with at least a few centimeters of overlap at the opening for the seal.
- Cut two panels of conductive fabric to size (plus seam allowance). If you're adding an outer fabric, cut matching panels of that too.
- Sew three sides with the conductive surfaces facing inward, leaving the top open. Keep stitching tight and continuous — big gaps between stitches can leak signal.
- Add a fold-over flap at the opening, long enough to fold down two or three times over the mouth of the bag. Attach hook-and-loop so it seals firmly with overlap.
- Turn it right-side out (if lined) and press the seams flat.
Test It (Don't Skip This)
A homemade bag is only worth anything if it actually seals. Test it the same way you'd test any Faraday bag:
- Phone call test: seal a phone inside, fold the flap closed, and call it from another phone. If it doesn't ring, the bag is blocking cellular signal.
- Key fob test: seal a keyless car fob inside and try to unlock the car from a step away. No response means it's working.
- If signals still get through: your seal is leaking. Add more overlap on the flap, tighten stitching, or double up the fabric layer.
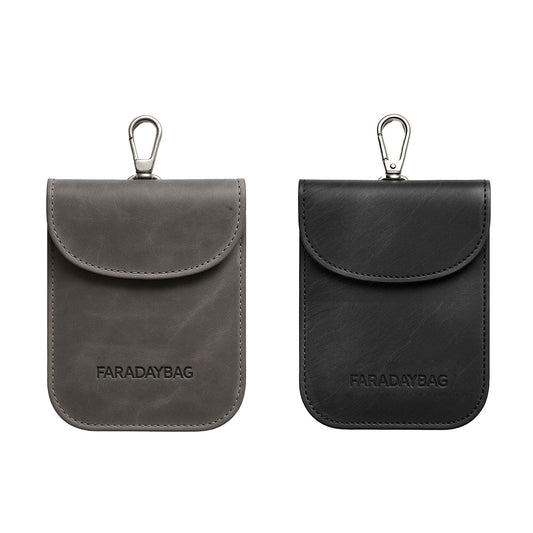
DIY vs. Buying One
A DIY Faraday bag is a great project and perfectly effective if you seal it well — especially if you want a custom size or you're making covers for larger gear. Where a purpose-built bag earns its price: consistent, tested seals; added fireproof and waterproof layers that are hard to DIY; and durability from daily open/close cycles. Many people do both — sew a few from shielding fabric for home use, and keep a rugged ready-made Faraday bag for travel and car keys.
Related Guides
- How to Make a Faraday Cage — for boxes, bins, and room-scale enclosures
- What Is a Faraday Bag? — the full explainer
- How to Measure EMF at Home — test your results with a meter